Website Monitoring Tutorial with Uptime Kuma (Self-Hosted)
Sunday, Dec 28, 2025
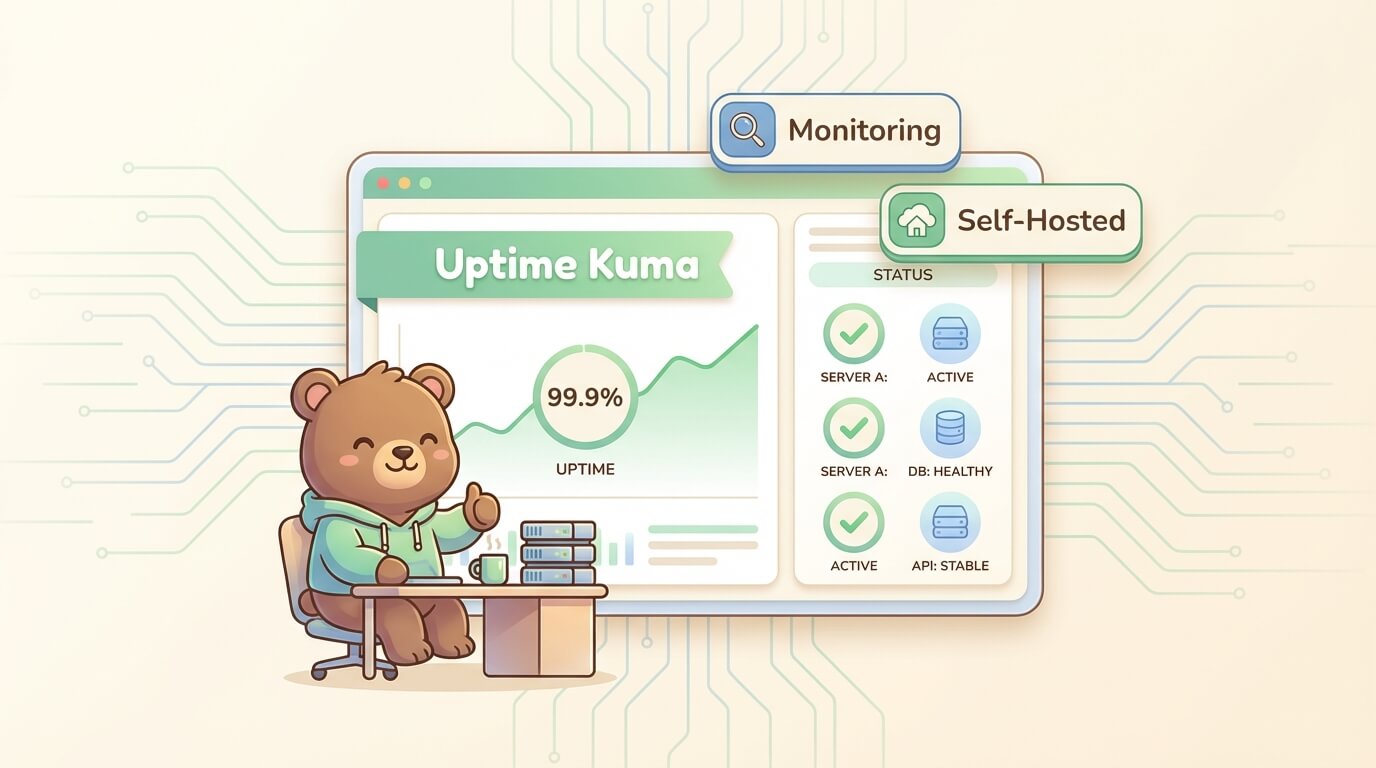
Ever had your website go down and only found out after users complained? Or your API server errored out but you didn’t notice until hours later? Monitoring is the solution, and Uptime Kuma is the best self-hosted tool you can use for free.
Why Is Website Monitoring Important?
Downtime isn’t just a technical issue—it’s a business problem:
- Revenue loss: An e-commerce site down for 1 hour can lose thousands of dollars
- User trust: Users who frequently find your website down will switch to competitors
- SEO impact: Google lowers rankings for websites that are often inaccessible
- SLA compliance: Many business contracts require 99.9% uptime
With monitoring, you can:
- Know about issues before users complain
- Get instant notifications when there’s a problem
- Track historical uptime for reporting
- Identify problem patterns (e.g., always down at certain times)
What Is Uptime Kuma?
Uptime Kuma is a self-hosted monitoring tool developed by Louis Lam. Its features include:
- 100% Free and Open Source
- Self-hosted - Your data stays on your server
- Modern UI - Clean and responsive dashboard
- Multiple monitor types - HTTP, TCP, Ping, DNS, Docker, and more
- 90+ notification channels - Telegram, Discord, Slack, Email, WhatsApp, etc.
- Status page - Public status page for users
- Multi-user - Support for multiple users with different roles
Self-Hosting with Docker
Prerequisites
- Server with Docker & Docker Compose installed
- Minimum 512MB RAM (1GB recommended)
- Port 3001 available
Installation with Docker Compose
Create file docker-compose.yml:
version: '3.8'

services:
  uptime-kuma:
    image: louislam/uptime-kuma:1
    container_name: uptime-kuma
    restart: unless-stopped
    ports:
      - "3001:3001"
    volumes:
      - uptime-kuma-data:/app/data
      - /var/run/docker.sock:/var/run/docker.sock:ro

volumes:
  uptime-kuma-data:
Run:
docker-compose up -dAccess Uptime Kuma at http://your-server-ip:3001.
Initial Setup
When you first access it, you’ll be asked to:
- Create admin username and password
- Choose language
Adding Monitors
Uptime Kuma supports various monitor types. Here are the most commonly used:
HTTP(s) Monitor
For monitoring websites and API endpoints:
Monitor Type: HTTP(s)
Friendly Name: Production Website
URL: https://example.com
Heartbeat Interval: 60 seconds
Retries: 3
Advanced options:
- Method: GET, POST, PUT, DELETE, etc.
- Headers: For APIs with authentication
- Body: For POST requests
- Expected Status Code: Default 200-299
Keyword Monitor
Ensuring the page contains specific text:
Monitor Type: HTTP(s) - Keyword
URL: https://example.com/health
Keyword: "status":"ok"
Useful for:
- Health check endpoints that return JSON
- Ensuring pages don’t display error messages
- Content-specific validation
Ping Monitor
For server/host level monitoring:
Monitor Type: Ping
Hostname: 192.168.1.100
DNS Monitor
Ensuring DNS records resolve correctly:
Monitor Type: DNS
Hostname: example.com
Resolver Server: 8.8.8.8
Record Type: A
Docker Container Monitor
Monitor Docker container status:
Monitor Type: Docker Container
Container Name: nginx
Docker Host: /var/run/docker.sock
Make sure the Docker socket volume is mounted in docker-compose.
Creating a Status Page
A status page is a public page displaying the status of all your services. Useful for:
- Transparency to users during incidents
- Reducing “is the website down?” support tickets
- Professional image for businesses
Status Page Setup
- Click Status Pages in sidebar
- Click New Status Page
- Configure:
Title: Status - Your Company
Slug: status (will become /status)
Description: Real-time status of our services-
Add Group for categorization:
- Production Services
- API Endpoints
- Internal Tools
-
Drag monitors to appropriate groups
Customization
- Custom Domain: Point subdomain to status page
- Custom CSS: Styling to match your brand
- Incident Management: Post incident updates
Notification Setup
Notifications are a crucial feature—monitoring is useless if you don’t know when there’s a problem.
Telegram
- Create bot via @BotFather
- Get Bot Token
- Get Chat ID (use @userinfobot)
- In Uptime Kuma:
Notification Type: Telegram
Bot Token: 123456789:ABCdefGHIjklMNOpqrsTUVwxyz
Chat ID: -1001234567890
Discord
- Create Webhook in Discord Server Settings → Integrations
- Copy Webhook URL
- In Uptime Kuma:
Notification Type: Discord
Webhook URL: https://discord.com/api/webhooks/...
Slack
- Create Incoming Webhook in Slack App
- In Uptime Kuma:
Notification Type: Slack
Webhook URL: https://hooks.slack.com/services/...
Channel: #alerts
Email (SMTP)
Notification Type: SMTP
SMTP Host: smtp.gmail.com
SMTP Port: 587
Security: STARTTLS
Username: your-email@gmail.com
Password: app-specific-password
From Email: your-email@gmail.com
To Email: alerts@yourcompany.comTip: For Gmail, use App Password, not your regular password.
Notification Strategy
Best practices for notifications:
- Immediate: Telegram/Discord for quick alerts
- Escalation: Email after 5 minutes still down
- On-call: Integration with PagerDuty/Opsgenie for critical services
Maintenance Windows
During planned maintenance, you don’t want false alarms. Uptime Kuma supports scheduled maintenance:
- Click monitor → Maintenance
- Set schedule:
Title: Database Migration
Start: 2025-01-15 02:00
End: 2025-01-15 04:00
Timezone: America/New_York- Recurring maintenance for weekly/monthly maintenance
During maintenance window:
- Monitor keeps running
- Notifications are suppressed
- Status page displays “Under Maintenance”
Multi-User Setup
For teams, Uptime Kuma supports multiple users:
Adding Users
- Settings → Users
- Add User
- Set role:
- Admin: Full access
- User: View and manage monitors (depending on permissions)
2FA (Two-Factor Authentication)
Enable 2FA for security:
- Settings → Security
- Enable Two Factor Authentication
- Scan QR code with Google Authenticator/Authy
Reverse Proxy with Nginx
For production, use reverse proxy with SSL:
server {
    listen 80;
    server_name uptime.yourdomain.com;
    return 301 https://$server_name$request_uri;
}

server {
    listen 443 ssl http2;
    server_name uptime.yourdomain.com;

    ssl_certificate /etc/letsencrypt/live/uptime.yourdomain.com/fullchain.pem;
    ssl_certificate_key /etc/letsencrypt/live/uptime.yourdomain.com/privkey.pem;

    location / {
        proxy_pass http://localhost:3001;
        proxy_http_version 1.1;
        proxy_set_header Upgrade $http_upgrade;
        proxy_set_header Connection "upgrade";
        proxy_set_header Host $host;
        proxy_set_header X-Real-IP $remote_addr;
        proxy_set_header X-Forwarded-For $proxy_add_x_forwarded_for;
        proxy_set_header X-Forwarded-Proto $scheme;
    }
}Important: WebSocket support (Upgrade and Connection headers) is required for real-time updates.
SSL with Let’s Encrypt
sudo certbot --nginx -d uptime.yourdomain.comComparison with Alternatives
| Feature | Uptime Kuma | UptimeRobot (Free) | Better Uptime |
|---|---|---|---|
| Price | Free | Free (50 monitors) | $20/month |
| Self-hosted | ✅ | ❌ | ❌ |
| Monitor types | 15+ | 5 | 10+ |
| Check interval | 20 seconds | 5 minutes | 30 seconds |
| Notifications | 90+ | 6 | 20+ |
| Status page | ✅ | ✅ (branding) | ✅ |
| Multi-user | ✅ | ❌ (paid) | ✅ |
| Data ownership | ✅ | ❌ | ❌ |
When to choose Uptime Kuma:
- You have your own server
- Privacy/data ownership is important
- Need fast check intervals (< 1 minute)
- Limited budget but need full features
When to choose SaaS (UptimeRobot/Better Uptime):
- Don’t want to manage infrastructure
- Need monitoring from multiple geographic locations
- Enterprise support is required
Tips & Best Practices
1. Monitor from Different Location
Uptime Kuma runs on one server. For reliability:
- Deploy on a different server from what’s being monitored
- Consider multiple instances in different regions
2. Set Appropriate Retry
Retries: 3
Retry Interval: 20 seconds
Avoid false positives from temporary network glitches.
3. Group Monitors with Tags
Use tags for organization:
production,staging,developmentfrontend,backend,databasecritical,warning,info
4. Backup Regularly
Uptime Kuma data is stored in SQLite. Backup the volume:
docker cp uptime-kuma:/app/data ./backupOr set up automated backup to S3/cloud storage.
5. Monitor the Monitor
Ironic but important—monitor your Uptime Kuma instance:
- Use external service (UptimeRobot free tier)
- Set up healthcheck in Docker
healthcheck:
  test: ["CMD", "curl", "-f", "http://localhost:3001"]
  interval: 30s
  timeout: 10s
  retries: 3
6. Optimize Check Interval
- Critical services: 20-30 seconds
- Important services: 60 seconds
- Non-critical: 5 minutes
Don’t be too aggressive—it can overload the target server.
Conclusion
Uptime Kuma is a powerful, free, and easy-to-setup monitoring solution. With full features like multiple monitor types, 90+ notification channels, and status pages, this tool is suitable for individual developers up to small-medium teams.
Things to remember:
- Deploy on a separate server from what’s being monitored
- Set up notifications to channels you actively monitor
- Backup data regularly
- Use reverse proxy with SSL for production
Happy monitoring! 🚀
Resources: